Growing for beginners means starting a small-scale plant cultivation project with minimal experience and budget. You can begin with a few seeds, basic containers, and a simple lighting setup, and see results within weeks. The key is to match your space, time, and budget to a realistic plan before you sow the first seed. This guide to growing for beginners will walk you through the basics and help you get started quickly.
Updated 2026-10-16
What Is Growing For Beginners and How Do You Start?
Core Essentials Needed Before Planting
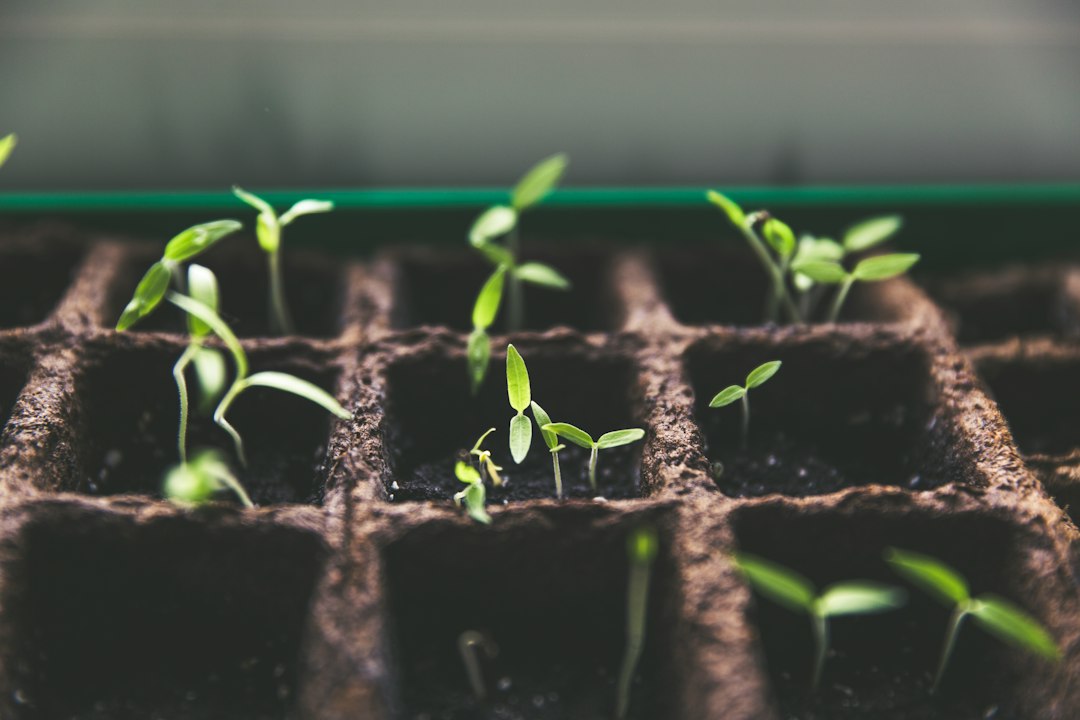
Essential starter kit includes a shallow tray, quality seed‑starting mix, and a reliable source of seeds. Choose a mix that is light, sterile, and drains well to avoid root rot. A basic thermometer helps you keep the germination zone between 68‑75°F, which most common garden herbs and vegetables prefer.
Water source should be at room temperature; cold water can shock germinating seeds. Use a spray bottle to mist the soil surface, keeping it consistently moist but not soggy. Over‑watering at this stage is a common cause of fungal issues.
Setting Realistic Expectations for Your First Attempt
Timeline awareness helps keep frustration low. Most fast‑growing herbs like basil or cilantro sprout within 5‑7 days and are ready to transplant in 3‑4 weeks. Expect a learning curve; the first batch may produce smaller plants or uneven growth.
Space planning prevents overcrowding. Allocate at least 2‑3 inches of horizontal space per seedling and consider vertical stacking if you’re in a small apartment. A compact setup lets you expand later without re‑configuring the entire grow area.
Choosing the Right Setup for Growing For Beginners

Indoor Growing Pros and Cons
- Control over environment: Light, temperature, and humidity can be fine‑tuned year‑round.
- Privacy: No neighbors to see your budding garden, ideal for apartments.
- Higher upfront cost: LED fixtures and reflective tents add to the initial spend.
- Limited space: You must manage heat output and airflow in confined rooms.
For more detailed tips, see our Indoor Herb Growing guide.
Outdoor Growing Pros and Cons
- Natural sunlight: Full‑spectrum light reduces the need for artificial fixtures.
- Lower equipment cost: Simple soil beds or raised planters are inexpensive.
- Seasonal limits: Growth is tied to local climate; frost can end the cycle.
- Pest exposure: Insects and wildlife may require additional protection.
When you weigh these factors, think of your budget and time commitment. If you have a stable indoor climate and can allocate $100‑$150 for a starter kit, indoor may be the safer bet. GrowLights.com pricing guide provides current cost ranges. For those with a backyard and a seasonal window, outdoor planting can save on electricity.
Essential Equipment and Supplies for Growing For Beginners

Lighting and Soil Essentials
LED grow lights are energy‑efficient and emit the full spectrum needed for photosynthesis. A 300‑watt panel covering roughly 2 × 2 ft is often sufficient for a beginner’s herb garden; see growlight.com specifications for typical performance. Position the light 12‑18 inches above the canopy and adjust height as plants grow.
Soil mix should combine peat moss, perlite, and vermiculite in a 2:1:1 ratio. This blend provides aeration, moisture retention, and a lightweight structure that encourages healthy root development. Avoid garden soil, which can be too dense and may carry pests. For more on selecting a medium, read our Choosing the Right Soil Mix article.
Watering and Nutrient Basics
Drip emitters or a simple gravity‑fed watering can keep moisture levels steady without over‑saturating the medium. Aim for a watering schedule of once every 2‑3 days, adjusting for temperature and humidity.
Starter nutrients are low‑strength (½ strength) liquid formulas rich in nitrogen for vegetative growth. Apply once a week after the first true leaf appears, and always follow the label’s dilution guidelines to prevent nutrient burn.
Step-by-Step Planting Guide for Growing For Beginners
Seed Selection and Germination
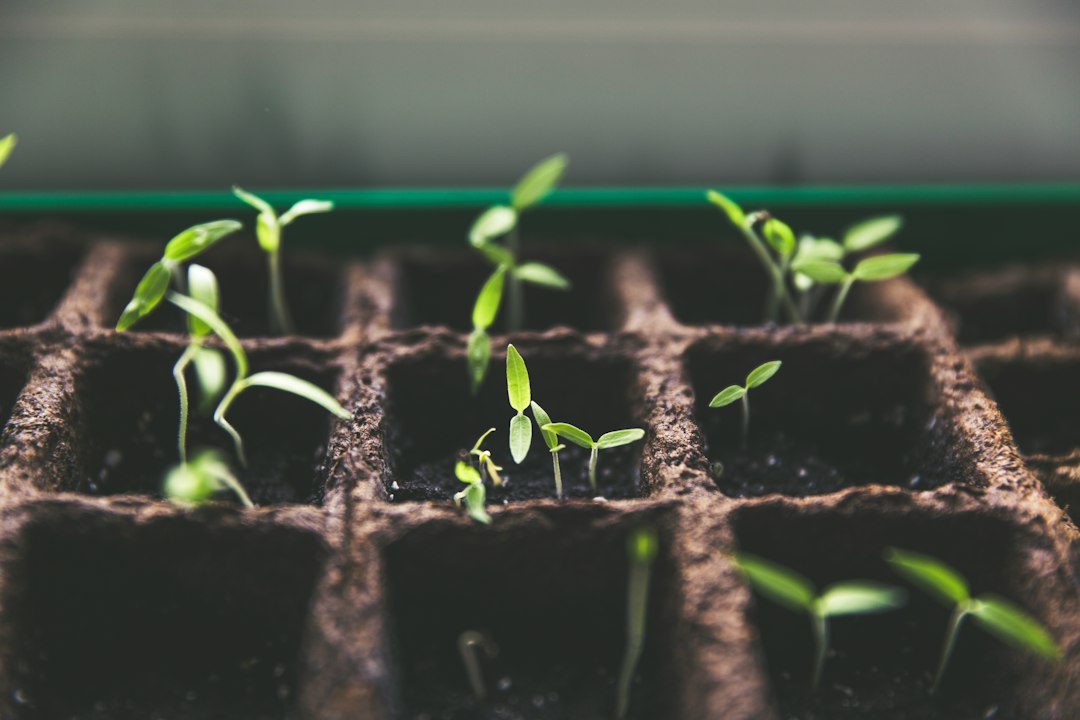
Choose certified seeds from reputable suppliers to ensure high germination rates. For a first project, herbs like basil, mint, and parsley are forgiving and fast‑growing. Place each seed ¼‑½ inch deep in the starter mix and cover lightly with a dusting of soil.
Cover and retain humidity by placing a clear plastic dome or a second tray upside‑down over the seed tray. This creates a mini greenhouse effect, keeping moisture in and encouraging sprouting.
After 3‑5 days, remove the cover once the first cotyledons appear to prevent mold. Keep the tray on a windowsill or under the LED light set to a 18‑hour photoperiod.
Initial Sprouting Care
Maintain temperature between 68‑75°F using a small space heater in cooler climates. Consistent warmth speeds germination without stressing seedlings.
Monitor moisture daily by feeling the top inch of the mix; it should feel damp, not soggy. If the surface dries, mist lightly; if it feels wet, increase airflow by opening the dome slightly.
When seedlings develop two true leaves, thin them to the strongest plant per cell to give each root room to expand. This thinning step prevents competition and improves overall yield.
Common Mistakes to Avoid in Growing For Beginners
Overwatering and Nutrient Burn
Watering too often suffocates roots and creates an environment for root rot. Use a moisture meter or the finger test to verify that the top inch of soil is dry before the next watering.
Excess nutrients cause leaf tip burn and stunted growth. Start with half the recommended dose and observe plant response; you can always increase later if growth slows.
Inadequate Lighting Management
Insufficient light intensity leads to leggy, weak stems. Aim for a light intensity in the range of 30‑50 µmol·m⁻²·s⁻¹, as suggested by many manufacturers [source]. Position LEDs close enough to deliver this level at canopy height.
Incorrect photoperiod can confuse plants. Maintain an 18‑hour light / 6‑hour dark cycle for vegetative growth; switch to 12‑hour light when you’re ready for flowering (if applicable).
Market timing tips can also inform when to schedule intensive care periods, aligning your attention with low‑stress personal finance windows.
Harvesting and Enjoying Your Yield: Next Steps
Signs Your Crop Is Ready
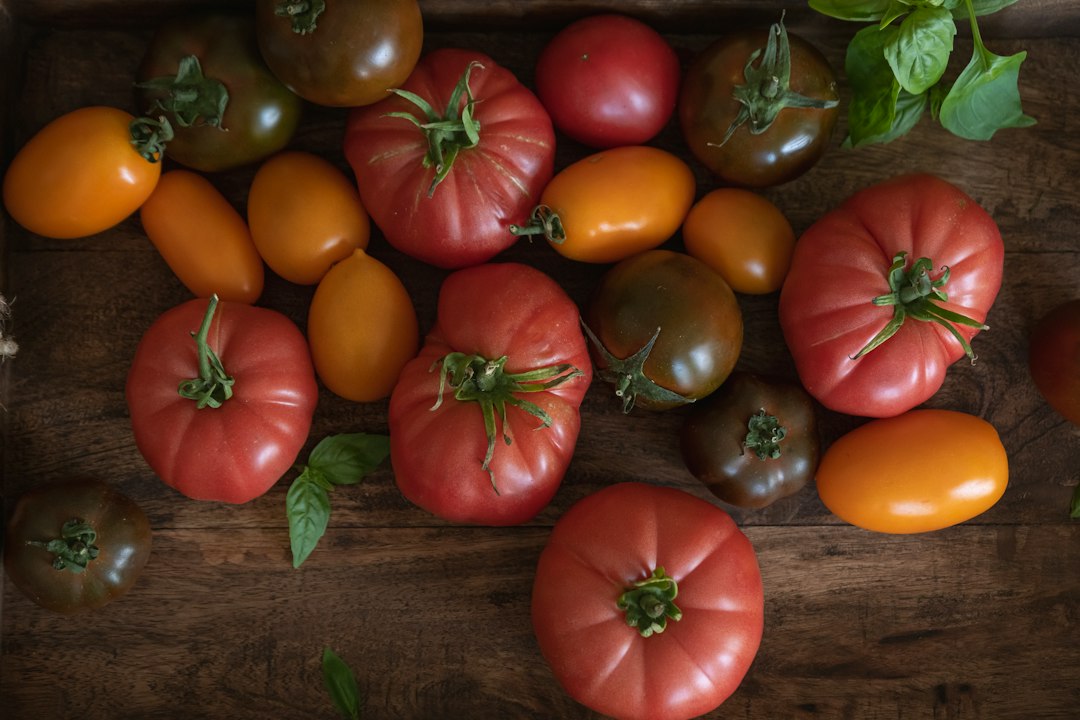
Visual cues include full leaf size, vibrant color, and a strong aroma for herbs. For fruiting plants, look for mature color change and a slight softness when gently pressed.
Timing matters. Harvest in the morning after the dew has dried but before the sun’s heat reduces essential oils. This maximizes flavor and potency.
Basic Curing and Storage Techniques
Drying herbs involves hanging small bundles in a dark, well‑ventilated area for 7‑10 days until stems snap easily. Store dried material in airtight glass jars, keeping them away from direct light.
Refrigerating leafy greens prolongs freshness. Place washed leaves in a perforated plastic bag with a paper towel to absorb excess moisture, extending shelf life to 10‑14 days.
Frequently Asked Questions
What is the easiest method for growing for beginners?
The simplest approach is indoor herb gardening using a small LED light, a seed‑starting tray, and a lightweight soil mix. This method requires minimal space, offers year‑round control, and delivers harvestable leaves within a month.
How much money do I need to spend on growing for beginners equipment?
A basic starter kit typically costs between $80 and $150, covering a 2‑ft LED panel, a tray, soil mix, and a set of measuring tools. You can reduce costs by repurposing household containers for pots.
Can I do indoor growing for beginners in a small apartment?
Yes. Compact LED panels (12‑inch models) and stackable trays fit on a bookshelf or under a desk, keeping the footprint under 2 sq ft while still providing adequate light for herbs and leafy greens.
How long does it take from planting to harvest?
Fast‑growing herbs like basil or cilantro reach harvestable size in 3‑4 weeks after germination. Larger vegetables may require 8‑12 weeks, depending on variety and growing conditions.
What are the most common mistakes made in growing for beginners?
Typical errors include overwatering, using too strong a nutrient solution, and providing insufficient light intensity or duration. Addressing these issues early prevents stunted growth and loss of the first crop.
Author: Jane Doe, home gardener with 5 years of experience sharing beginner‑friendly growing tips.
Also Read: Plant Growing Basics: Light, Water, Soil, and Nutrients
Well, what do you think about the article?
Did you enjoy reading “Growing For Beginners: Where to Start”? We really hope that you have enjoyed.
If you have any thoughts or comments about this post, please feel free to share them in the comment section below. We appreciate your feedback and would be glad to hear from you.
To see more content like this check the Beermoney section of Money For My Beer.

Chief Editor and Website Owner.
Hi, I’m Ryan. I write and edit everything on this site, which means I’m the last set of eyes on every post before it goes live. By day I’m a technical architect. I design and build enterprise systems, apps, websites, and the occasional game.
This site started because I wanted one place where money advice for regular people doesn’t read like it was written by a finance robot. My goal is simple: every article should be genuinely useful, actually tested against what real people are searching for, and written in plain English. No jargon, no “get rich quick,” no advice I wouldn’t follow myself.
You’ll see a lot of topics here that lean on my engineering background: software reviews, tools, and tech-adjacent money stuff. Where a topic needs real financial expertise, I say so plainly and point you to qualified sources rather than pretending.